Installing Mac Os X Lion On Dell Xps L502x
You can create a Sierra USB installer using the usual manual process (same as for Yosemite or El Capitan), then install the bootloader (Clover or Enoch) and the required bootpack. You can reuse your existing Yosemite pack (I understand you currently run that). For an Enoch based installation with BIOS in legacy mode, you can follow a similar process as described, excluding the computer's specific pack of course. I would recommend you create a separate partition and retain Yosemite for the time being.
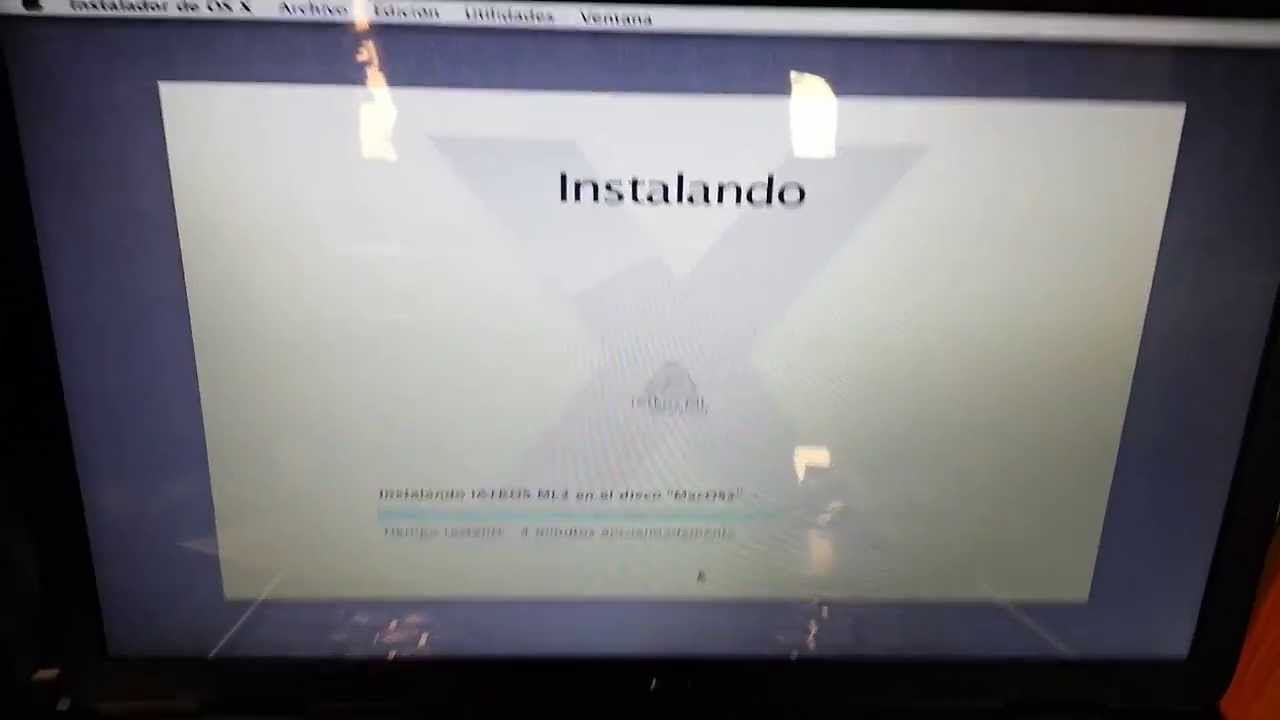
Installing and Dual boot Lion and Windows on Dell XPS L502x. If your looking to Dual boot OSX and Windows with a data partition to keep. Hello, I have a Dell XPS L502X and want to install Windows XP. Dell XPS comes with Windows 7 x64 bit. Would the x64 bit sata drivers work with Windows XP, or would I need to convert them to x86?
It was the first 13” aluminum unibody notebook from and although it was launched as part of the range it has since migrated to the range. I run my MacBook through a 24” and use the. This gives me a nice desktop setup and when I need to be mobile the 13” form factor is perfect. Lately I have begun to feel the limits of the stock 2GB RAM and the 160GB HDD. So it is time for an upgrade. This post marks the completion of a 2 part project to upgrade both the RAM and the HDD of my MacBook. • • Part 2 – Upgrade HDD from 160GB to 500GB No Space Right clicking on Macintosh HD > Get Info showed that I had around 5GB of HDD space left on my MacBook.

I bought the replacement drive for this little project over a year ago but had been putting off replacing my HDD – it was finally time HDD Specifications I read a number of reviews and posts on various forums and blogs about what an ideal replacement drive would be. I looked at the prices between 320GB and 500GB HDDs (remember this is over a year ago) and finally settled on finding a HDD with a capacity of 500GB. My logic was that the bigger the drive was, the less likely I would have to do this again during my MacBook’s lifetime. The next challenge was whether to get a 5400RPM or 7200RPM drive. Again there was heated debate in the forums and on blogs.
The two contenders for me were: • • I liked the fact that the drive in my MacBook was so quiet and wanted to maintain that experience. Webasto tajmer instrukciya. Western Digital advertised WhisperDrive technology on their Scorpio Blue drives which was meant to yield the quietest 2.5 inch drives on the market.
This claim seemed to be held up in the forums and since I was not doing anything seriously IO intensive on the MacBook I decided to go with the 5400RPM Western Digital Scorpio Blue 500GB. I also ensured that the drive was no higher than 9.5mm due to ongoing on various forums. Cloning the HDD This is the part of the process that kept me from upgrading months ago. The contents of the existing HDD in the MacBook would have to be cloned to the new HDD. I had read a number of blog posts on using the or utilities and it all seemed simple enough – but I was still a little nervous. I finally settled on using Disk Utility which is bundled with Mac OS X and is all you really need for cloning your HDD. A simple and easy to understand by Daryn Cox got me started.